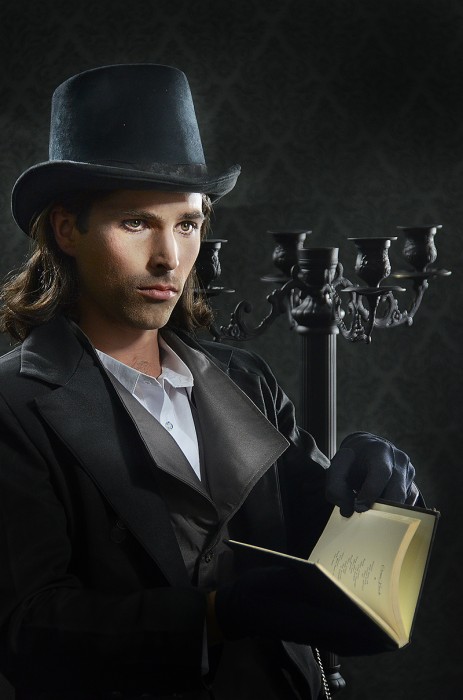
Overview
Back in the days of developing film in the dark room, a creative photographer would use his hands or other objects to block the light that was being transferred through the negative onto the print paper. This was called dodging, and it produced a selective lighter area in the image. Burning was accomplished by allowing a certain area to be exposed longer to appear darker. This is how Ansel Adams edited his images without Photoshop. Now we can accomplish the same effect so much easier. If you use this nondestructive dodge and burn technique it is totally flexible for later adjustments. Without this method, you need to start over each time you try something and don’t like the result.
Nondestructive dodging and burning is like painting light and shadow into your image. This method is so much faster than using masks and adding two different adjustment layers (one to lighten and one to darken). This just may be one of the most powerful editing techniques you may learn for Adobe Photoshop. Besides being easy to do, the real beauty of this method is its nondestructive nature. It is totally flexible! If you change you mind, you can open your .psd (Photoshop document) later and easily add more dodging and burning, should you decide to adjust things again. Just be sure you always save your edited image as a full-size .psd, so you have options later. If you ever re-edit a compressed jpeg, you lose quality each time. And if you need to print the image later, you will need the full size .psd with all your layers and edits save inside the file. That is only possible when you save your file as a .psd (Photoshop document). Have fun dodging and burning, the nondestructive way!
Let’s get started:
Follow these steps to add a new gray layer with overlay blending mode, then use the dodge and burn tools on that layer.
- Open your image.
- Hit Shift Cmd N and a window will appear.
- Change Mode to Overlay
- Check the box next to: Fill with 50% gray. Hit OK. You should now see a gray layer above your image layer. Stay on this layer.
- Select the Dodge tool (O) from the tool palette, then adjust your Exposure as desired in the top menu bar. Paint over areas to lighten.
- Select the Burn tool (under the Dodge tool), adjust your Exposure in the top menu, and paint areas to darken.
Shortcuts to use:
- When you have the Dodge tool selected, you can quickly switch to the Burn tool, by holding Alt (Option on a PC).
- Hold “Shift O” to toggle between the Dodge, Burn, and Sponge tools.
Saving tips:
Be sure you save your image as a .psd (Photoshop doc) at full size, so you can reopen the image and have all layers in tact. You can adjust your edits as desired later by adding more dodging and burning on the gray layer. It is nondestructive and totally flexible because you are not editing on the original.


